This term my classes will be looking at very basic watercolour techniques. I’ve done this in the past, but mostly nervous students revert to painting between the lines as they did in their early years. I want to see if I can break this barrier so that all my students will be able to use all watercolour’s advantages effectively. About a third of this year’s group are new to watercolour, so I’m going to work more slowly, consolidating techniques as I go, and encouraging them to assess which technique will serve them best in each painting they do.
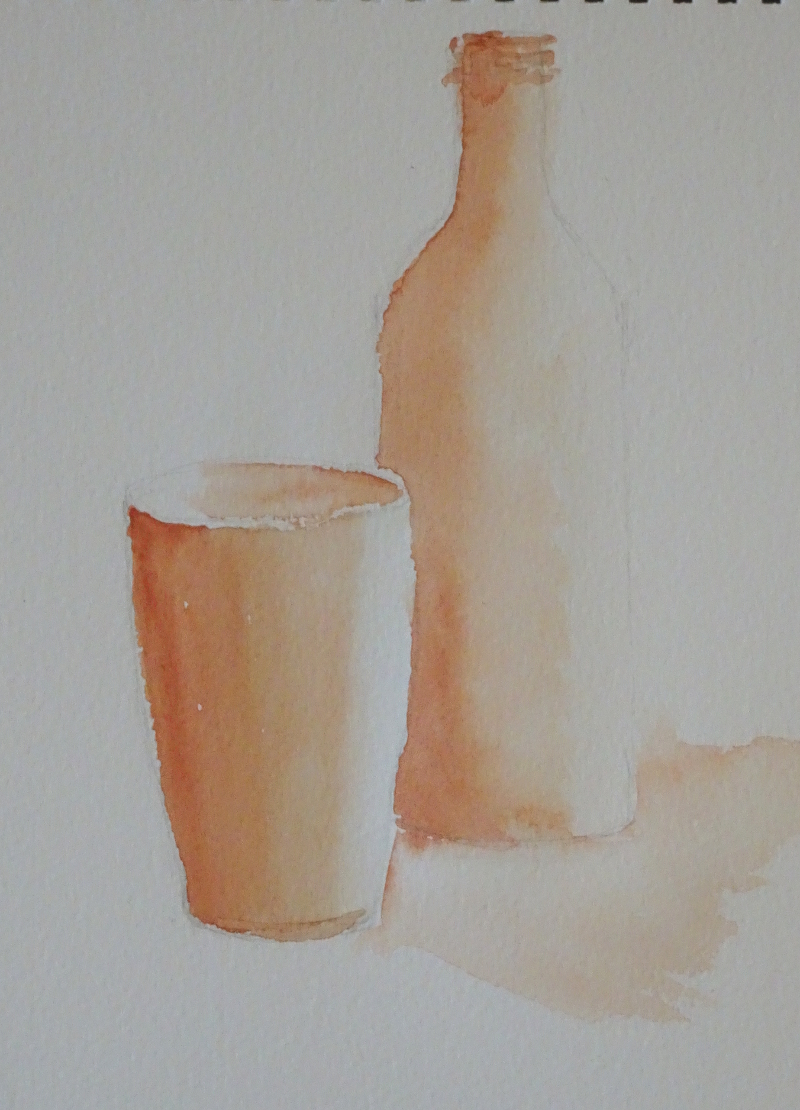 Last week we learnt how to hold the brush (not like a pencil, but more loosely and further up the haft) and how to gather paint into the brush by twisting it gently in the mix. We looked at how to create shapes by using differing pressures on the brush, using point and body as needed. We also created 3D effects by painting the whole object with clear water then flooding in colour so that it crept across the surface getting more pale as it went. So the first exercise this week is to repeat that.
Then we turned to Dry brush and Rough paper. By loading the brush with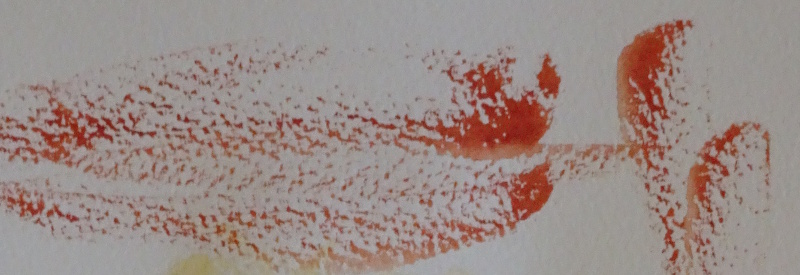 thick paint and moving quickly across the rough page, a broken effect is achieved.
So we tried that out on a generic tree aiming for an airy lightness of texture. The initial laying of Aureolin does not show well on the white surface, and this ain’t any tree I know but the idea of what “dry brush” can do is there.
 Next week we are aiming for a painting incorporating these techniques – big sky, distant hills, a lake, and a tree in the foreground.
I think the thing I have found hardest is getting the right mix for dry brush. I rather think that’s why so many people don’t use it…
I agree; my attempts were far too wet as well being wrong in one or two other ways! I am practising.